IKEA ALPSTUGA Teardown
In November, IKEA announced a new set of smart devices using Matter instead of Zigbee. To me, this was at first a little disappointing since I tend to use Zigbee with my Home Assistant; however, once I looked into some of the changes, things started to get more interesting.
Their previous air quality sensor, the VINDSTYRKA, was pretty good. I currently use one in my living room, which is next to my kitchen, to make sure I'm not cooking up too many particles I don't want to be breathing. However, this product only measured temperature, humidity, PM2.5, and VOCs (which were never really a number and just a range). On its own, this is pretty helpful, but at the price of $60, it isn't too special. One feature I really wanted on this was CO2 sensing, and now it comes in their new sensor, the ALPSTUGA.
For sensing CO2 in my apartment, I use the SCD4X USB Gadget, however, this is a $40 USB that I need to read over Bluetooth, which Home Assistant can do easily. It’s a bit costly, but its datasheet makes it look rather accurate and it does exactly what I need it to. However, IKEA's new sensor does CO2 sensing as well as PM2.5, which seems like it has truly all I currently want to sense. (Later on, I'd love to detect other compounds that aren't very friendly, but PM2.5 and CO2 are both rather simple to track and since I don't use a gas stove, nothing else is too terribly important as of the current minute).
This new ALPSTUGA sensor was only in Europe for a short time, and a few days ago, it finally made it to the US, so I picked up two of them and got to disassembling and testing!
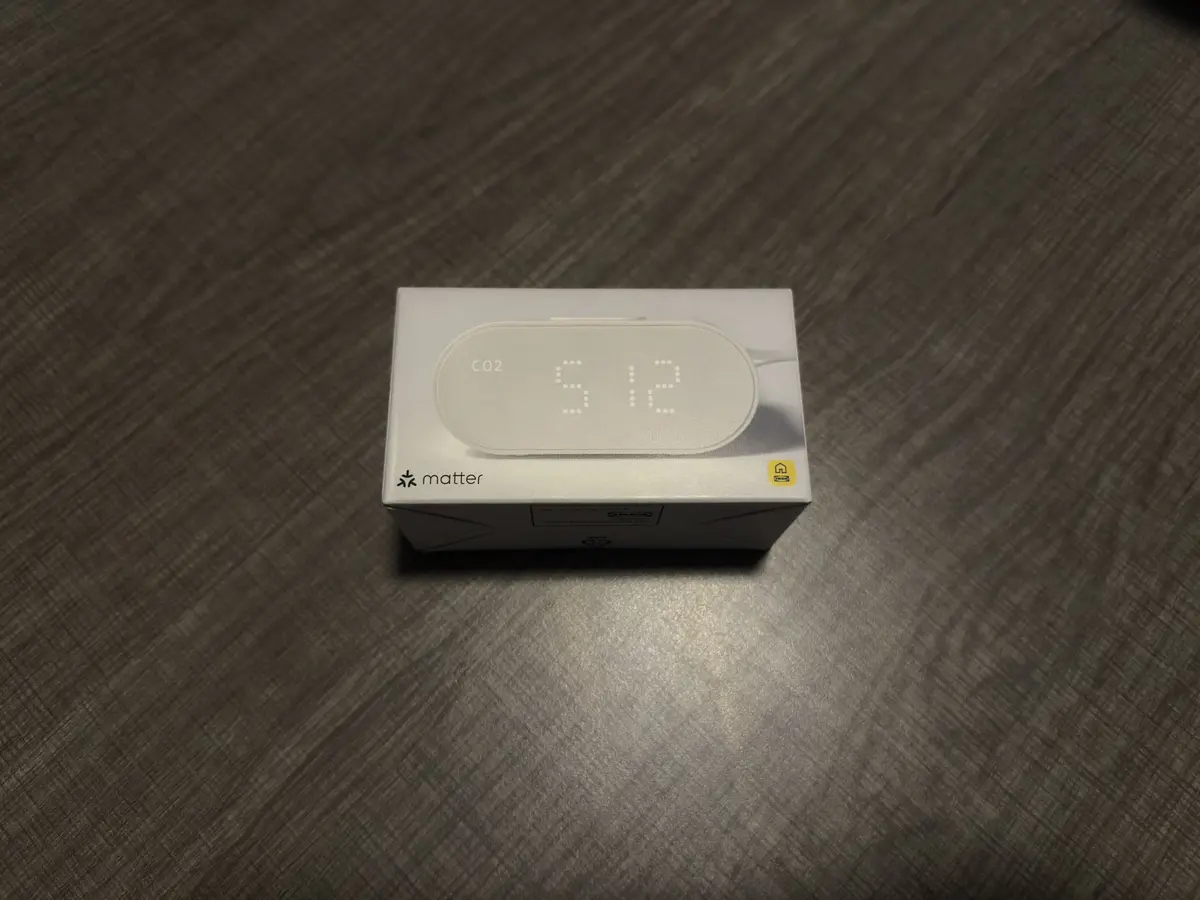
Packaging
The ALPSTUGA has very little going on in the box. It comes with some small paper and the module itself. Unlike the previous VINDSTYRKA, it does not include a USB cable.
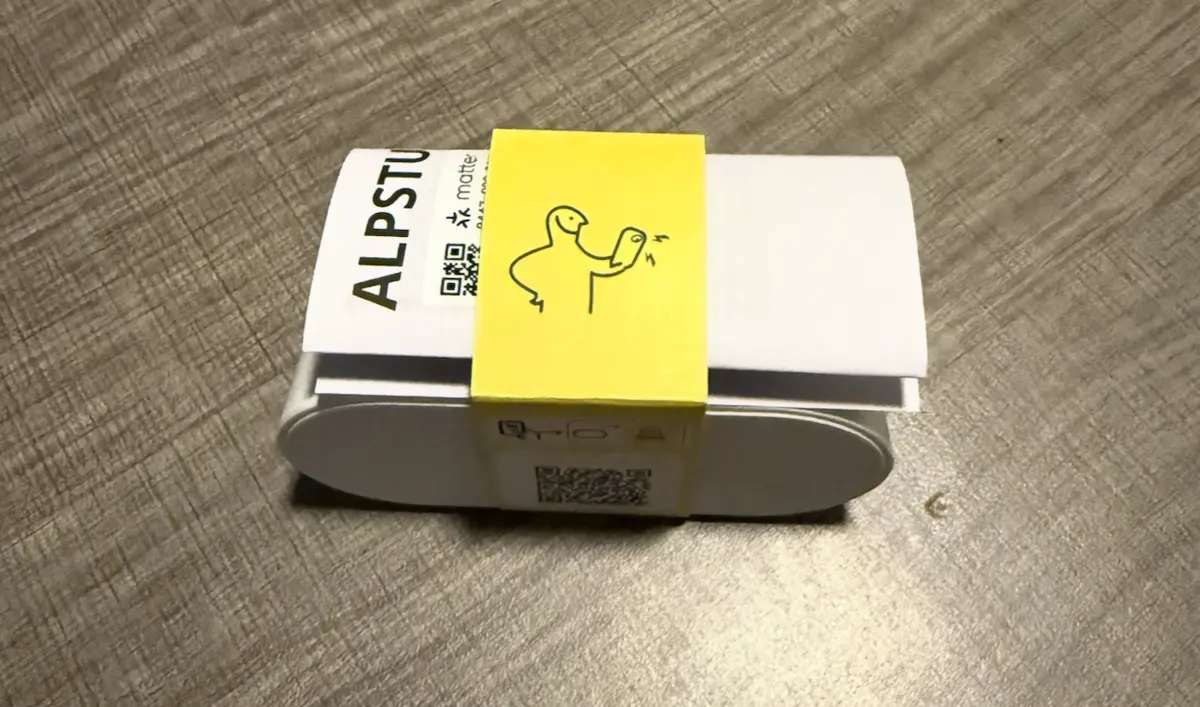
However, I'm mostly here to crack it open to see what sensor it uses and then put it all back together and place it in my living room, so let’s get disassembling!
Disassembly
There aren’t any exterior screws, but the screen looks to be the only place I could easily stick a spudger in, so I got to work. After some prodding, it opened up quite cleanly (I only broke one of its 6 clips!) to a board and a sensor attached by a wire in the back.
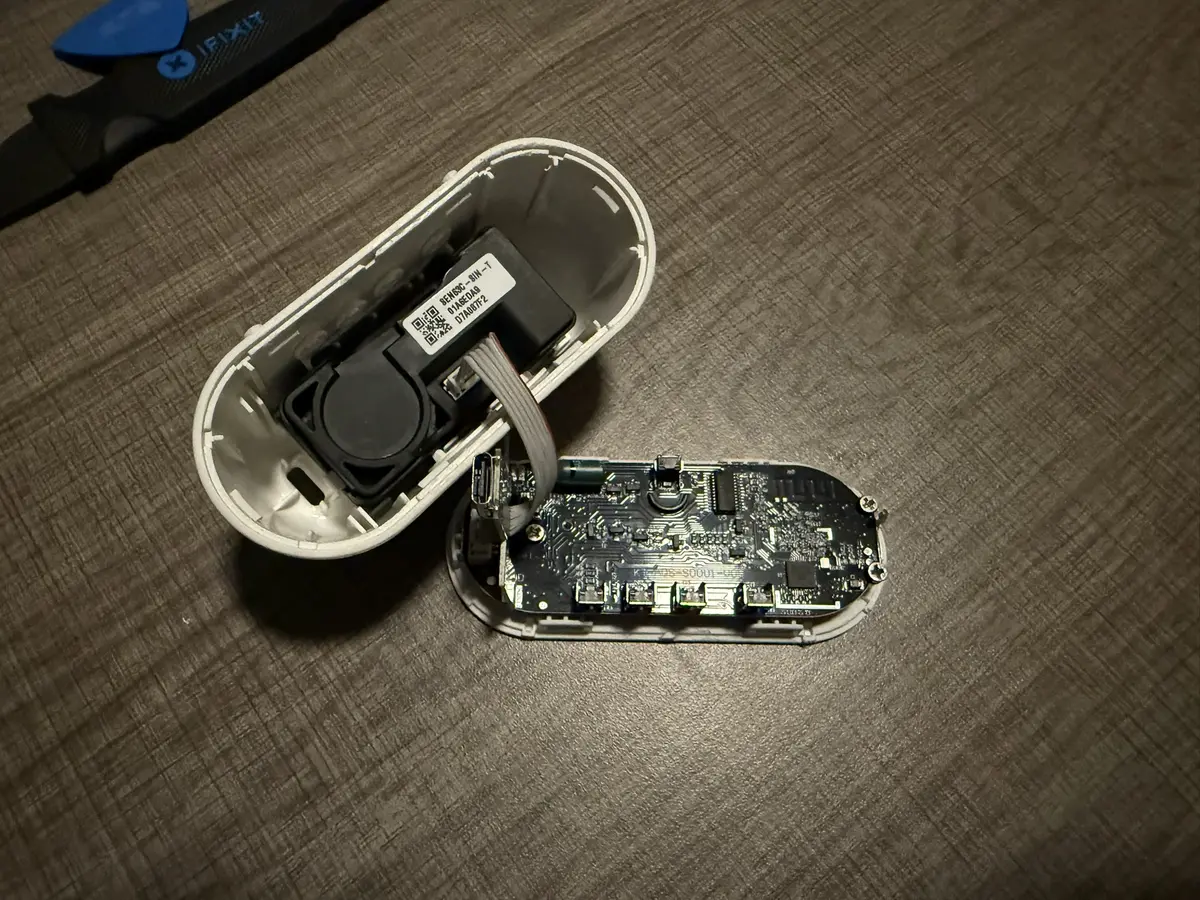
At first I was thinking that IKEA found some cheap sensor to put in here that wouldn't be too terribly accurate. It's a $30 device, half of the price of the first one, so I wouldn't expect it to be stunning. However, after taking a closer look at the block in the back, it looks to be a SEN63C-SIN-T with the datasheet here.
This module looks to support "PM, RH & T, CO2", which unfortunately means we've lost VOC tracking. However, adding CO2 instead more than makes up for it in my opinion. Looking into pricing on this module, Digikey has it listed for around $30 for a single unit, if there were any in stock. This means that currently, for this sensor, IKEA is effectively the cheapest way to get it since there's no shipping (at least I went in store for it) and the price is simply lower!
Looking into the details on this chip, it seems to offer ±(100 + 10 % m.v.) for CO2, this isn't too stunning as the one I'm currently using is ±50, but it'll still be reasonably accurate. For temperature and humidity it seems to be ±0.45 and ±4.5% respectively, which is much better than the USB gadget which gets ±0.8 and ±6%. So for comparing it to my USB, it has slightly less CO2 accuracy, but better temperature and humidity. For the PM2.5, it gets ±(5 μg/m3 + 5 % m.v.). In comparison to the VINDSTYRKA, which uses the SEN54, it gets the same ±0.45 and ±4.5% which is rather nice.

Looking into the other chips, there is a Silicon Labs MG24 powering everything and a Vinka VK16D32 which looks to be the LED controller; however, I wasn't able to quickly find the datasheet for that one.
Conclusion
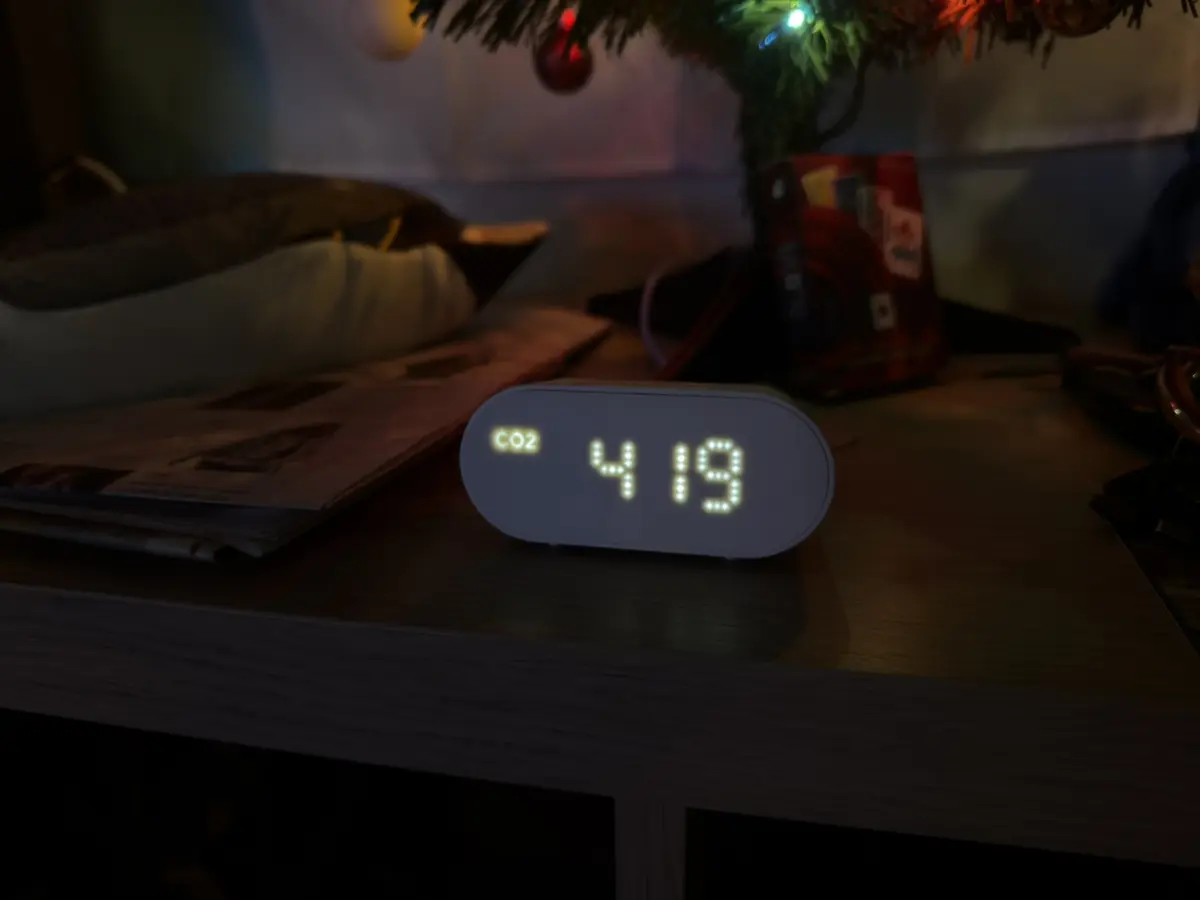
I am extremely impressed with this tiny device. I haven't dug too deep into the screen config, but currently, I have it just displaying the CO2 in the air at the moment. The instructions say it may take up to a day to become accurate, so I'm letting it sit before I compare it to the USB gadget to see how close they can be, so maybe in the future, I can move the gadget to be mobile rather than in my living room.
One thing to note about this device, however, is it works Matter over Thread. Unlike most Matter devices that work over Wi-Fi, this needs a Thread-compatible device! For me, that is one of my HomePods or Apple TV, but this may be an issue if you're looking to do this in a non-Threaded Home Assistant setup. This device added just fine to my HomeKit, which then easily gave me a pairing code for Home Assistant.
I'm excited to see what else IKEA comes up with next for the smart home!