
Fixing T480 Thunderbolt
Around June of last year as I was sitting at my internship, I saw an offer for a Lenovo Thinkpad T480 for $80. Had the HD screen, 8550U, 16GB of ram, and SSD storage. However the seller noted it only charged at some 8W which wasn't enough to run the laptop for more than an hour or two. Looking into the issue beforehand, it looked like this model had an issue where an old Thunderbolt firmware caused the firmware EEPROM to be written to often, eventually killing the chip. For most of the cases, people were able to download the firmware updater and flash the chip in Windows or Linux, however in my case the controller simply never showed up.
From this point it looked like all hope was lost. From some research, it looked like the chip was entirely dead and I'd need to resolder it or get it resoldered. So, I popped open the laptop to see what I was looking at repairing.
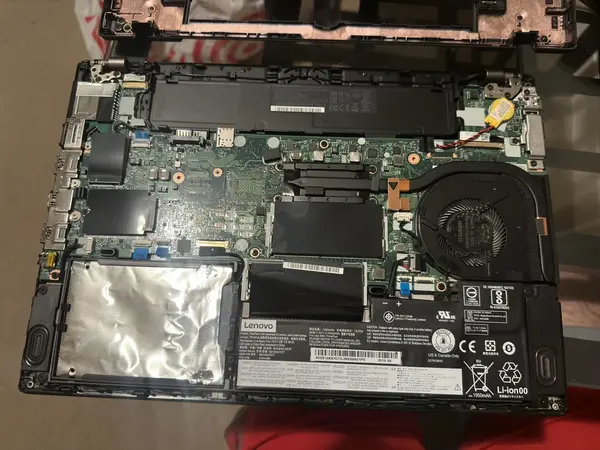
From some research I found the Thunderbolt firmware chip was in the top corner of the laptop, righr next to the yellow CMOS battery. It looked like it was out of the way enough for me to try my hand at repairing, however I've never really done any soldering, and last time I did it trying to solder an RTL-SDR to a $60 laptop (long story) I ended up killing the laptop. So, I needed to look into other options.
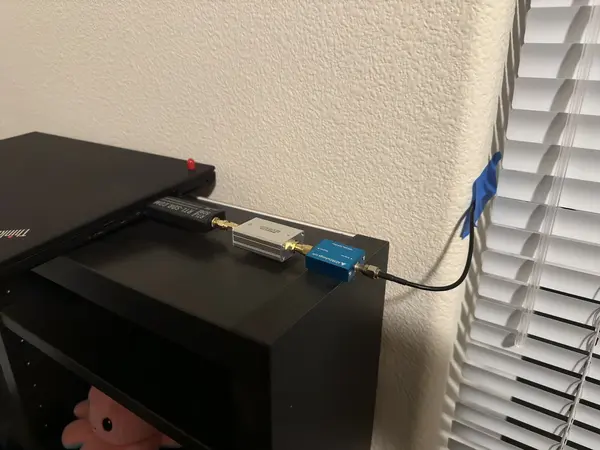
For a period of time, this became one of my ADS-B flight trackers using an RTL-SDR. (Hopefully I'll write more on that journet later...) To make it work for flight tracking without dying, I disabled all of the cores except for one or two, and set the clock speed to the minimum of a few hundred MHz, disabling turbo and anything else that would lead to an increase in power consumption. Then, I attached an RTL-SDR, an LNA, and a 1090 filter to get the planes around San Jose. With an antenna simply in my window, I was able to get SFO and SJC approaches! (I have a picture of this somewhere, however I can't find it at this time)
Once I went back home from the summer, the laptop sat dormant until around now when I had time to work on it and also needed it for class. This class involves FPGA programming with a Cyclone V, however when I tried to get everything done using my MacBook with a Windows 11 IoT LTSC ARM install, I had issues getting the USB drivers installed and passed through, so I had to figure out either hoping proper x64 Windows works, or using a Windows laptop. Since I had some time and wanted to figure it out, I looked back into making this laptop work and I found an article explaining how I could simply write zeroes to the chip and it should re-appear in Windows! So, I ordered an SOIC8 programming clamp and got to work.
I first started to get everything installed on my MacBook since the clamp came with a ch341a chip, however MacOS seemed to have issues giving it up. So I attached a Raspberry Pi and got to work! Luckily after hoping I clamped everything correctly, I got a connection and was able to dump the current firmware.
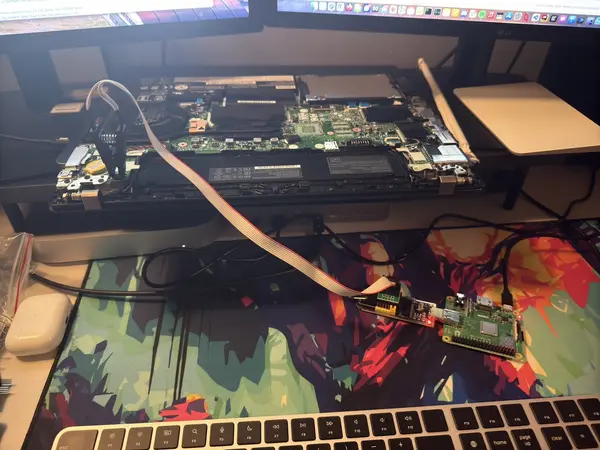
The proper orientation looks to be having the red wire going on the bottom right of the chip (if the chip were in the top right of the laptop as in the first picture in this post). From there I followed the guide of writing an empty firmware and then got to booting!
Unfortunately, windows continued to not see the device, so I continued to another article which explained another process, which involved extracting the proper firmware, padding it, then writing it back.
In order to get that firmware binary, I downloaded and installed the utility in a VM, selected to only install but not run, and the copied the TBT.bin (found in C:/FIRMWARE/Thunderbolt or something similar) to the Raspberry Pi. From there, I made the empty file of 1M and padded the TBT firmware with it.
dd if=/dev/zero of=null.bin bs=1M count=1
dd if=/dev/null of=TBT.bin bs=1 seek=1048576
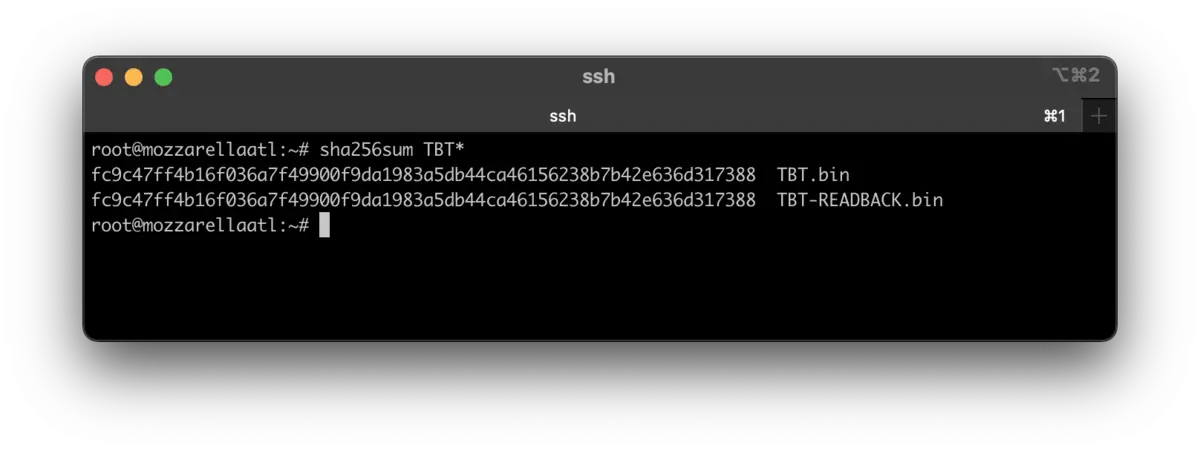
From here, I was able to do the firmware write with flashrom: and get to testing! To verify everything was written correctly, I dumped the ROM again, sha256summed the TBT.bin I made and the firmware I re-extracted, and found them identical. Everything should be good!
Instantly when I booted Windows and plugged in the laptop, I saw no error about charger wattage, and once I plugged in a Thunderbolt device, it detected in the Thunderbolt Utility and I was able to use the laptop! Success!
All it took was a cheap programming clamp off of Amazon and a Raspberry Pi. I unfortuately did not take more screenshots of the process, but in the end everything worked after I simply programmed the chip externally.
For a TL;DR of some commands and the parts:
- Programmer chip: https://www.amazon.com/dp/B07R5LPTYM
- Flashrom: https://flashrom.org (Was built into the RPi)
Command list:
# read the chip's firmware as a backup in case
flashrom --programmer ch341a_spi -V -r out.bin

# prepare the new image (need to copy TBT.bin from elsewhere)
# Do note, these commands will modify TBT.bin, make sure you have another copy somewhere
dd if=/dev/zero of=null.bin bs=1M count=1
dd if=/dev/null of=TBT.bin bs=1 seek=1048576

# write the new image to the chip
flashrom --programmer ch341a_spi -V --write TBT.bin
From here, everything was done and I could close up the laptop. Hope this can help someone else!